![[object Object]](https://s3.us-west-2.amazonaws.com/worklenz.com/assets/worklenz-light-mode.png)
![[object Object]](https://s3.us-west-2.amazonaws.com/worklenz.com/assets/worklenz-dark-mode.png)
How to create a project
Project
Projects let you manage your teams, tasks, and everything you need to get things done within your workspace. Once you’ve set up your workspace, the next step is to create a project. Each project acts as a container for all your tasks, subtasks, and activities.
Create a project
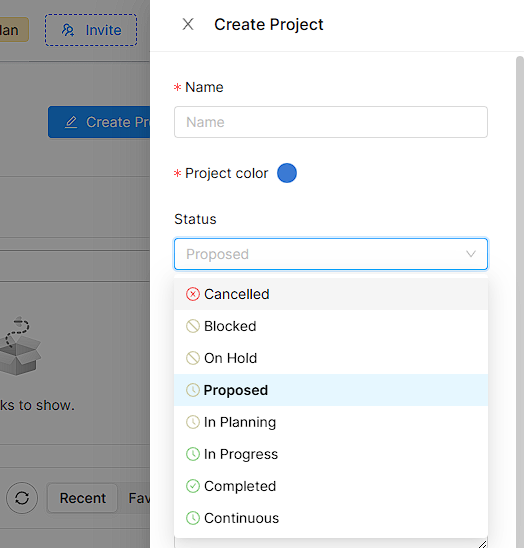
To create a new project, navigate to the Home page or the Projects tab, then click the Create Project button on the right-hand side. A project configuration drawer will open where you can customize the following details:
- Name - give a name to your project.
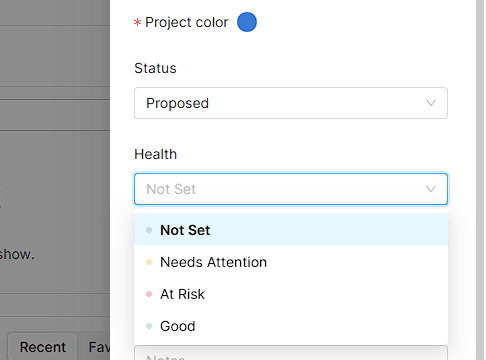
- Project color - choose a color for your project to easily identify it among other projects.
- Status - select the project status from the dropdown list. By default, it is set to “Proposed”.
- Health - select the project health from the dropdown list.
- Category - add a category according to your project.
- Notes - add any special notes about the project.
- Client - add the client associated with this project.
- Project manager - assign a project manager.
- Start and end date - set the project start date and estimated end date.
- Estimated working days - enter the estimated number of working days to complete the project.
- Estimated man days - enter the estimated man days needed to complete the project.
- Hours per day - set the number of working hours per day.
Once you have configured the project details, click the Create button to submit. You will be taken to the newly created project.
Create a project from a template
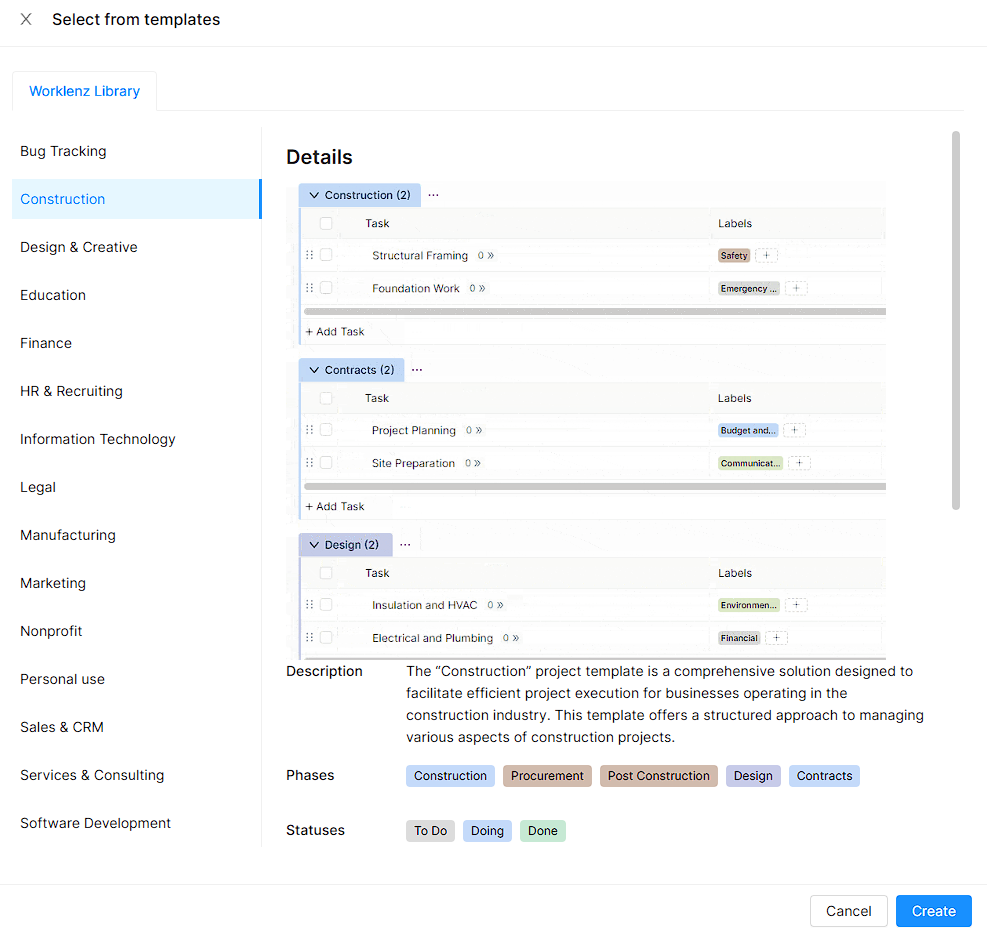
You can also create a project from a pre-built template. To do this:
- Click the down arrow next to the Create Project button.
- A drawer will open with two tabs:
- Worklenz templates - pre-defined templates created by the Worklenz team that you can use right away.
- Your library - your own saved templates. This tab will be empty at the beginning since you haven’t created or saved any templates yet. Once you create your own templates, they will be listed here.
- Select a template and proceed to create your project.
See the How to create a project template section for steps on creating your own project templates.